~Brought up 2 SharE~

"Remember to Remember"

Showing posts with label DIY Cooking. Show all posts

Happy Birthday


March 11 and 15 marks the jovial occasion for my parents
Just wanna wish mom and dad....

A very Happy Birthday! Love you both!

May this year fill you both with good health and eternal happiness!

and also to WeiZhi, Happy Belated birthday. You've been a dear friend and good makan companion. Hope you had a blast on your big day!

I have a little something for you guys...
Remember to claim these next year :)


Would like to share this simple and easy, but yet well-liked recipe!

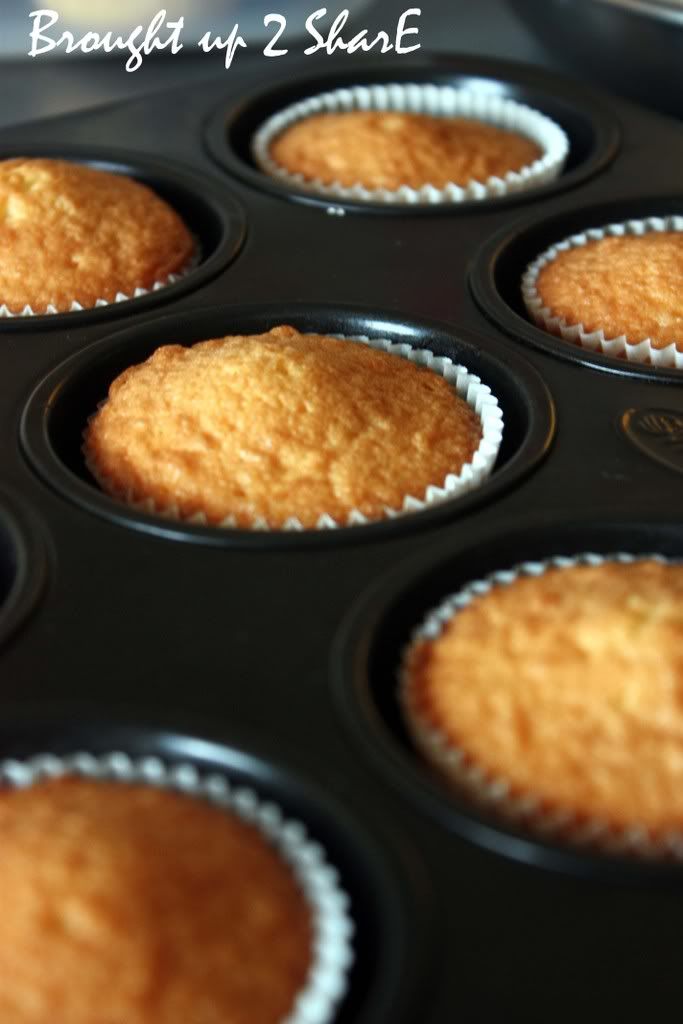
Butter CupCake
First attempt in baking a butter cake in Glasgow :P


Ingredients:
  • 250g butter
  • 100g margarine (I used Stork, they don't sell margarine here)
  • 250g sugar
  • 1/4 tsp salt
  • 5 eggs
  • 1/2 vanilla essence
  • 250g plain flour
  • 1 tsp baking powder


Method:
  1. Preheat oven to 170 degree Celcius.
  2. Line in cupcakes paper on cupcake tray.
  3. Beat butter, margarine, sugar and salt until light and fluffy.
  4. Add in eggs, one at a time, beating thoroughly after each addition
  5. Stir in essence. Fold in sifted flour and baking powder and mix well.
  6. Spread batter into the cupcakes paper on tray.
  7. Bake in oven for 20 minutes at 170 degree Celcius.
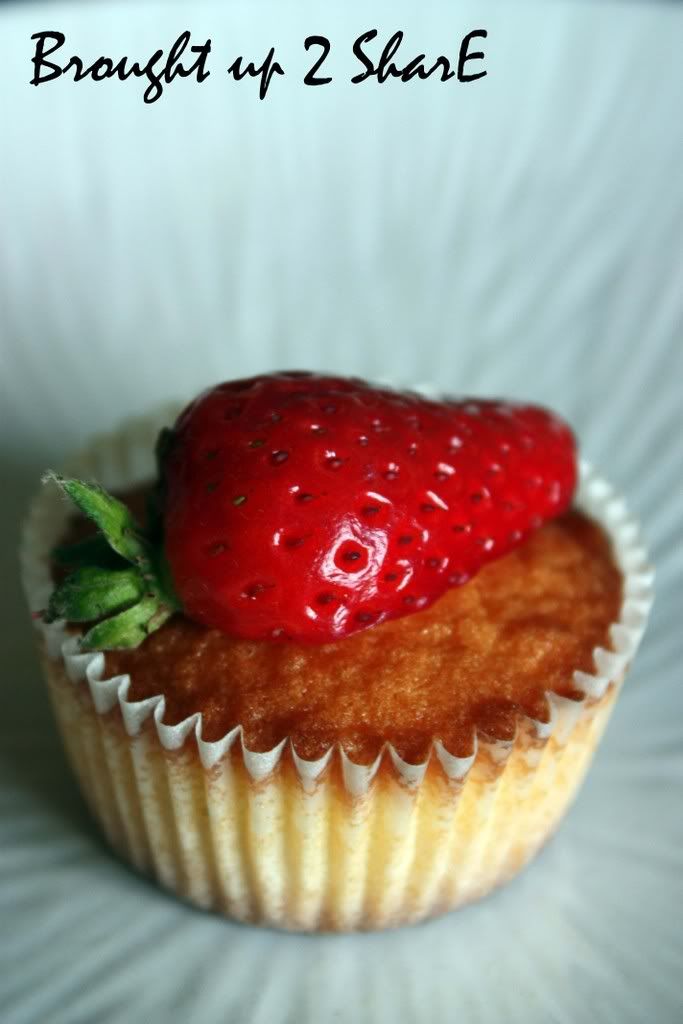
  8. Decorate your cupcake with icing or even fruits.
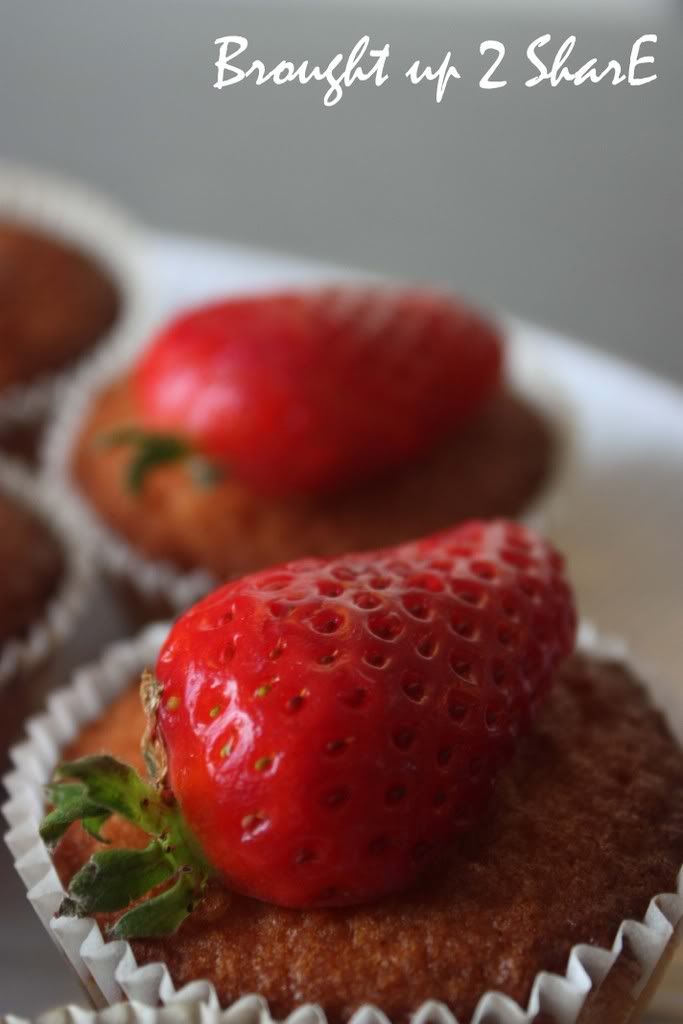

Strawberries here are extra sweet and huge...


Fast, easy and worth a try! Will do icing decorations on them in my next attempt!


Once again, Happy Birthday Mom & Dad! and WeiZhi too!
Muax
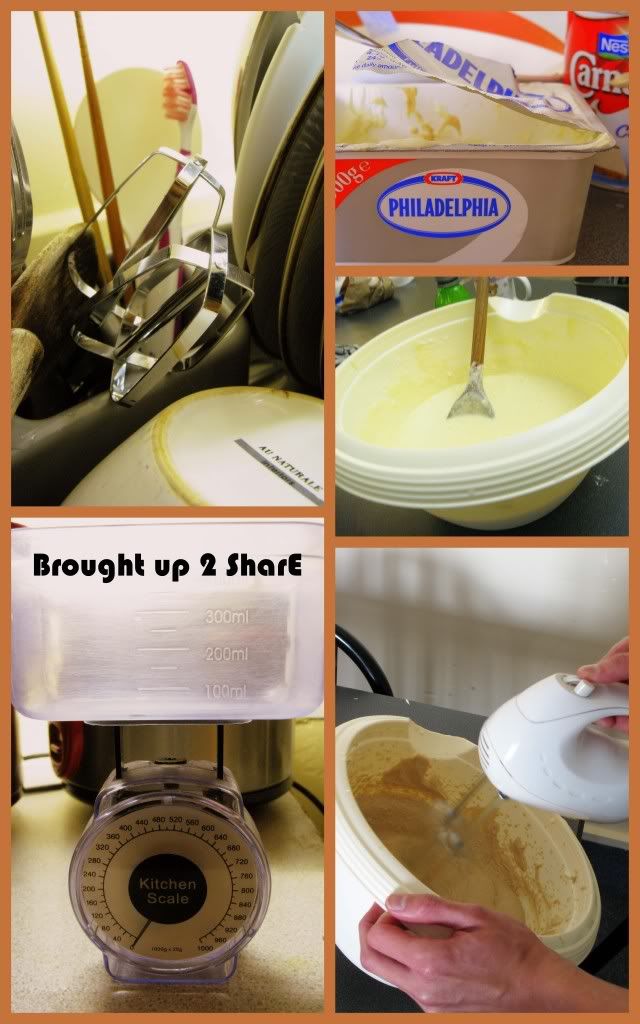
Cheesy Bakes


When there are lecture free days….
When you are tired drenching yourself with knotty, tedious and long-winded journals…..

When you wanna find an excuse to run off from generating words to write the intro for thesis…..

When the BF is out working…..


What’s best to kill time?

Let’s Bake!

Being a noob in baking, I called AiWei back home for help ;P Thanks gal.


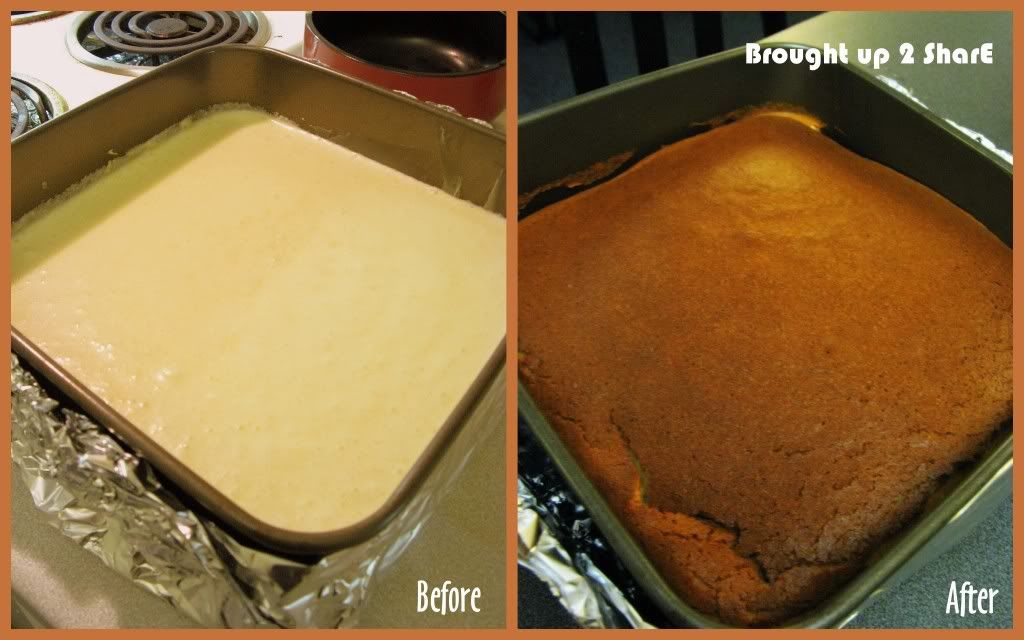
Japanese Cottony Cheese Cake

Followed her adapted recipe below:

Part A:
250g Philadelphia Cream Cheese
50g Butter
100ml Fresh Milk


Part B:
60g Superfine Flour (top or cake flor)
20g Cornflour
6 Egg Yolks
1 tbsp Lemon Juice
¼ tsp Salt


Part C:
6 Egg Whites
¼ tsp Cream of Tartar
140g Fine Granulated Sugar

1. Melt (A) in double boiler and cool the mixture until room temperature.

2. Fold in (B) and mix well


3. Whisk egg whites with cream of tartar until foamy and then add in sugar and whisk until soft peaks form. Fold in half of the (C) into the mixture and mix well. Then add in the other half and mix them evenly.

4. Pour the mixture in 8 inches round cake pan (lightly grease and line the bottom and side of the pan with greaseproof paper).

5. Finally, bake in water bath for 1 hour 10 minutes or until set or golden brown at 160 °C.


Soft, fluffy and cheesy :)

So indulging…

However, mine still doesn’t stand out impressively as AiWei’s. HaHa.


----------------------------------------------------------


KC and Jean then came up with an idea of utilizing the cream cheese for another simple recipe.

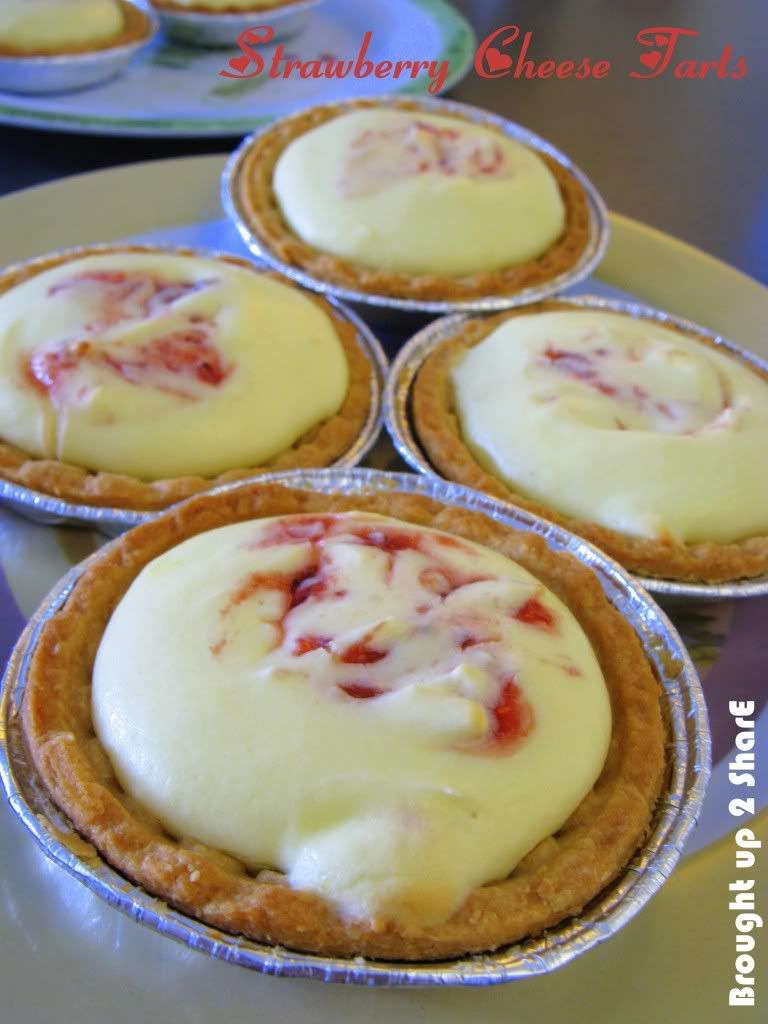
Strawberry Cheese Tarts were just irresistible and easily managed!

Strawberry Cheese Tarts


Ingredients:

  • Philadelphia Cream Cheese
  • Dessert Base
  • Strawberry Jam


1. Preheat the oven.

2. Beat the cream cheese with mixer.

3. Fill in beaten cheese into the dessert base.

4. Layer some Strawberry Jam in the middle of the tart

5. Bake the tarts at 180 degree for about 15 minutes.

Ta-Da! As easy as that :)

You can opt to layer some fresh strawberries on top. Decorate it to suite your likings.

For recipe on Blueberry Cheese Tarts and the making of the dessert base (we used the pre-packed ones from Hoppers in this case), please visit:


Weekend Cooking Lesson 2: Peping Sytle Fried Dumpling

After my attempt to prepare nasi lemak on Saturday, mom agreed to help resolve my fear of 'incapability to work in the kitchen' :P again on Sunday. We decided to prepare the Peping Style Fried Dumpling, mom's recipe when she's learning how to cook back then! Hmm..."Peping style" Initially wondering what's that but it's just a name for this dish... famously known as "Wo Tip"! I just love fried dumpling lots! and now I get to prepare it for myself! Should taste nicer than the ones sold outside! *haha*

Sharings:
The below ingredients are sufficient to prepare about 30 dumplings. Depends on the size of the dumplings that you want them to be.......
Let's start of with the recipe people :)
Ingredients for the skin: the outer layer

  • 8 ounces of multi purpose flour
  • 4 ounces of boiling water (half a rice bowl)
  • 1-2 ounces of cold water


Ingredients for the fillings
  • 1/2 kg Grounded pork
  • 1/2 kg Grounded prawns
  • Chopped dried shiitake mushrooms (have to be soaked first)
  • Stalks of leeks

Grounded pork ~ so pink!


Prawn paste


mushroom

Chopped Shiitake Mushromms

Another important step is that, the fillings have to be seasoned! with....
  • 1 1/2 teaspoon of sesame oil
  • 1 1/2 teaspoon of salt
  • 1 tablespoon of chinese wine
  • 1 teaspoon pepper

wo tip fillings

Seasoning of the fillings

It's up to you whether you opt for the dipping sauce as an extra stimulation for the taste bud :P But it really stimulate mine! It's easy peesy!
For the sauce:
  • 1 small plate of shredded young ginger
  • 2 tablespoon of black vinegar
  • 1 tablespoon of soya sauce
  • 1/2 tablespoon of cooked oil
The sourish and tasty sauce :)

Method:
  • Place the grounded pork, prawns, mushrooms and leeks in a larger bowl, season and mix these ingredients. Leave them for about 1/2 an hour while preparing the dough for its skin
  • Flatten each dough and put about 1 tablespoon of fillings in the center, then fold over and pinch edges together
  • Heat a flat frying pan until it's hot enough, add 2 tablespoon of oil and place in the dumplings. Fry until the bottom of the dumpling is golden brown, add 1/2 a bowl of extra ingredient (water with 1 teaspoon sesame oil and 1 tablespoon white vinegar) - to soften the skin and add extra taste to the fillings and skin!
  • Cook till dry then add in another 2 tablespoon of oil (to enhance crispiness on the bottom layer) and fry for another 1/2 minute
  • Arrange them on the serving plate and serve with the sauce! *yes*

Photo sessions!


wo tip skin
Make them flat!

Bro's working on the mould. We used rice bowl instead!


Wrap it!


Looked like curry puffs? haha.. :P


wo tip 2

Fry them!


wo tip 1

Not enough?? Fry more then!


wo tip

Arrange!

Although it's kinda time consuming when preparing all these but the effort is worthwhile :) Quite tiring.. especially the rate-limiting process of wrapping the fillings up! Luckily my brothers were willing to offer help! Eh... they can make nicely shaped dumplings! Mom did the frying part while we were busy producing them.. We had fun fooling around with the flattening and wrapping process :P Flours all over the table :P


Guess how many dumplings that we managed to make? It's 97 all together! Oh.. we had so many and our stomachs were overloaded with dumplings!.. Can't finish and grandpa kept them for his dinner!

The "Wo-Tip" Meal!


I'm lovin' It! Wanna give it a go? Here's one for you!


Weekend Cooking Lesson 1: Homemade Nasi Lemak


Since reading XLB's post on her homemade nasi lemak, I've decided to give it a try as well! Assisted by my aunt, every procedure went on smoothly, particularly when trying to cook the main dish: the sambal! Every other steps are just as easy except the sambal of course. Think I've not added in enough sugar as Chris claimed it's not sweet enough and I should have added more onions! Will work on that in my next attempt.
Frankly speaking, I'm no good in the kitchen. The timid me who is forever afraid of the splashy oil, can't bear the hot and lazy to cook a proper meal as well! haha.. but I'm determined now to have more actions in the kitchen as I'm worry that I'll be having culinary potential difficulties when studying abroad. *sweat*
Let's move on with the important ingredients for the sambal :)


onions

Chopped small onions


anchovies

Anchovies a.k.a ikan bilis in the wok! Ah.. move out! :P Becareful while frying it... those striking oil!


Fried the peanut as well and fresh cucumber!


Fry the small onion in a little bit of oil till fragrant and soft, add in the chili paste and let it simmer for a moment. Add some sugar to eliminate the little sourish taste of the chili paste. Taste it! *hehe* Now the coconut milk (santan) is added followed by the anchovies later. And this is it!


sambal

I screwed it up? NOT! still OK-lar... :P Still edible!


dry chicken curry

The Dry Chicken Curry by aunt. Will learn this in my next attempt. Wish me luck :P


eggs

Nasi lemak isn't complete without? The Eggs!


Here goes my plate of Homemade Nasi Lemak. Anyone dares to give this a try? Don't worry... :)

nasi lemak (2)


I'm anticipating more lessons in the kitchen! Brushing up cooking skills is a good activity :) Nah! Chris.. don't say I always didn't have the intention to cook for you! By the way... did you lick your plate?? Hmm...
I've also gained another recipe from dear mommy and will share it out soon enough!


Blog Widget by LinkWithin

Search Posts


Contact us at: broughtup2share@gmail.com

Recent Posts

ADs

Foodie Blogroll

Tweet us!

Tweet us!
Follow us on twitter.com

chit-chat